How to Do the Incline Push-Up
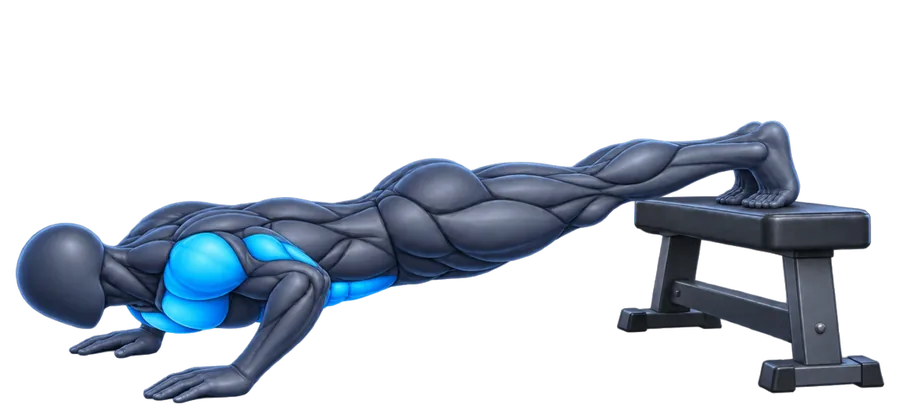
The incline push-up puts your hands on an elevated surface so you press less of your bodyweight. It is the usual starting point for building to floor push-ups, and works well for beginners or anyone returning to training.
 Log every set of your Incline Push-Up in Superlift
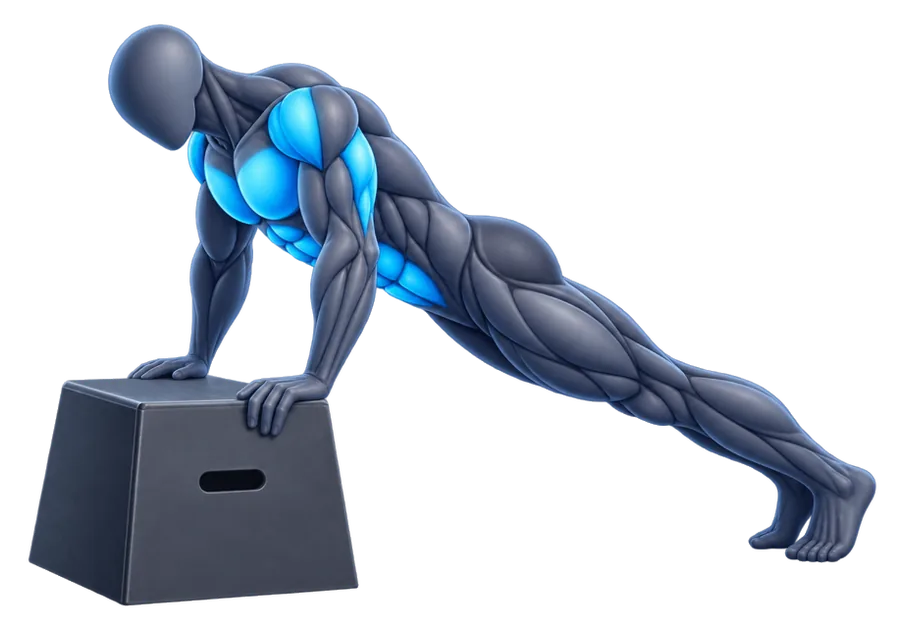
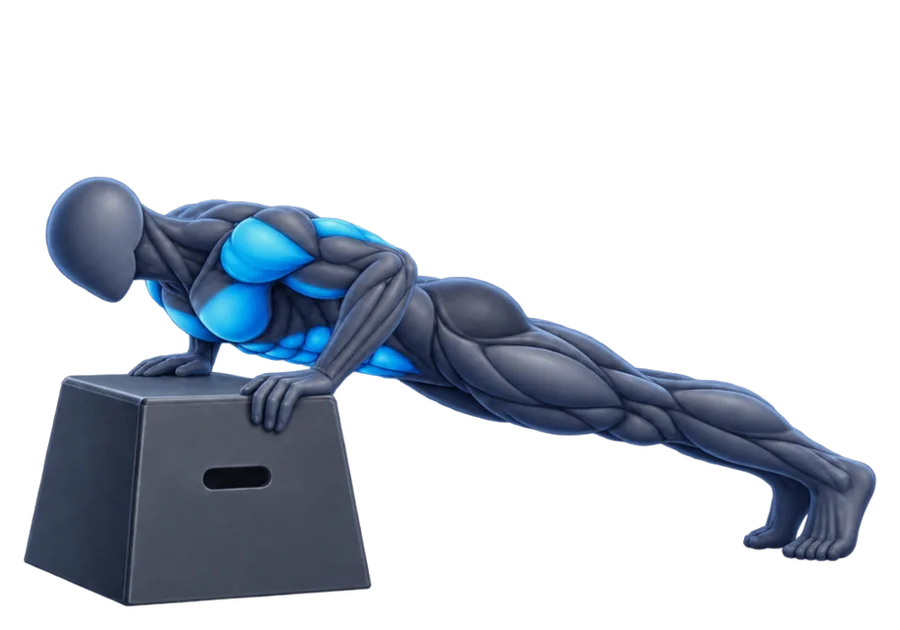
Muscles worked
Primary
- Chest
- Shoulders
Secondary
- Triceps
- Abs
How to do the Incline Push-Up
- 1
Place your hands on a bench, box or sturdy counter, slightly wider than shoulder-width.
- 2
Step your feet back until your body forms a straight line.
- 3
Brace your abs and squeeze your glutes.
- 4
Lower your chest toward the surface with your elbows at about 45 degrees.
- 5
Press back up until your arms are straight.
- 6
Keep your hips in line with your shoulders and heels.
- 7
Lower the surface as you get stronger.
Form cues to remember
- Body in one straight line
- Chest to the surface
- Elbows about 45 degrees
- Brace your core
Common mistakes
Hips sagging
Squeeze your glutes and abs to keep a straight line.
Surface too unstable
Use a bench or wall that won't slide or tip.
Partial reps
Lower until your chest nearly touches the surface.
Staying on the same height too long
Lower the surface once you can do 10–15 clean reps.
Sets and reps
| Endurance | 3 sets of 10–20 reps, 45–60 seconds rest |
|---|---|
| Muscle growth | 3 sets of 8–15 reps with a slow lowering |
| Strength | Progress to a lower surface until you reach floor push-ups |
Make sure the surface is stable before you press. Stop if you feel pain in your wrists or shoulders and try a wider hand position.
Superlift for iPhone
Track your Incline Push-Up and watch it go up
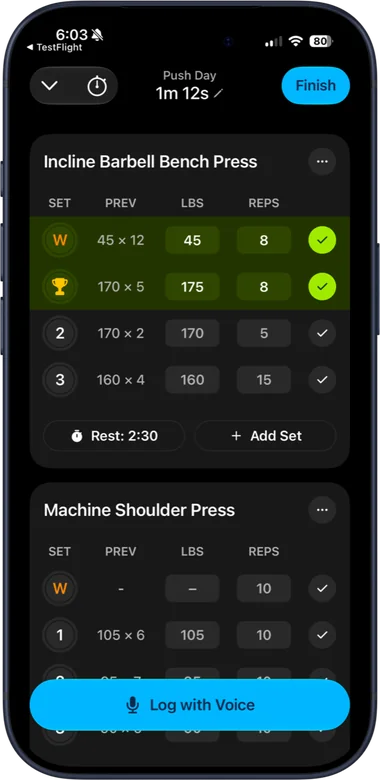
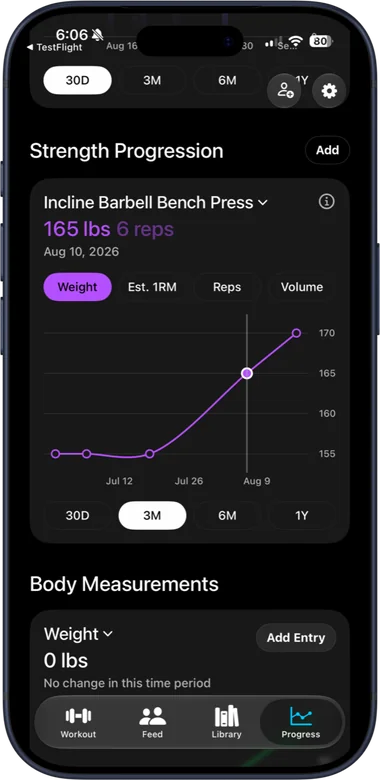
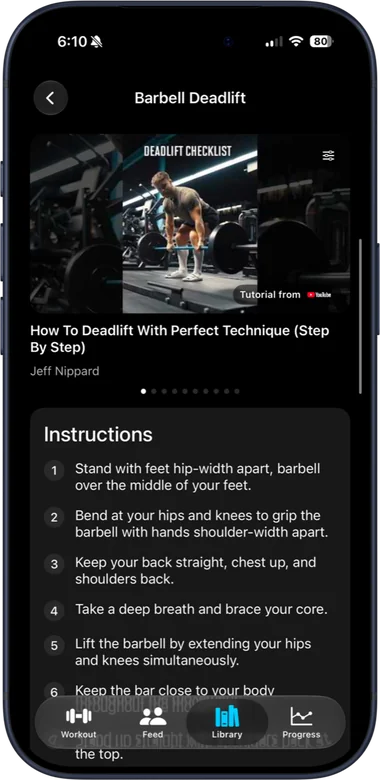
Superlift shows what you lifted last time, times your rest, and charts your strength week by week, so you always know what to beat. Every exercise in this library is built in, with the same demos and tutorials.
Incline Push-Up FAQ
Do incline push-ups build chest?
Yes, especially for beginners. They work your chest, shoulders and triceps with less of your bodyweight.
How do I progress from incline to regular push-ups?
Lower the surface gradually as you reach 10–15 clean reps. Eventually you will reach the floor.
Incline vs decline push-up?
Incline is easier, with your hands elevated; decline is harder, with your feet elevated. They load your upper body differently.